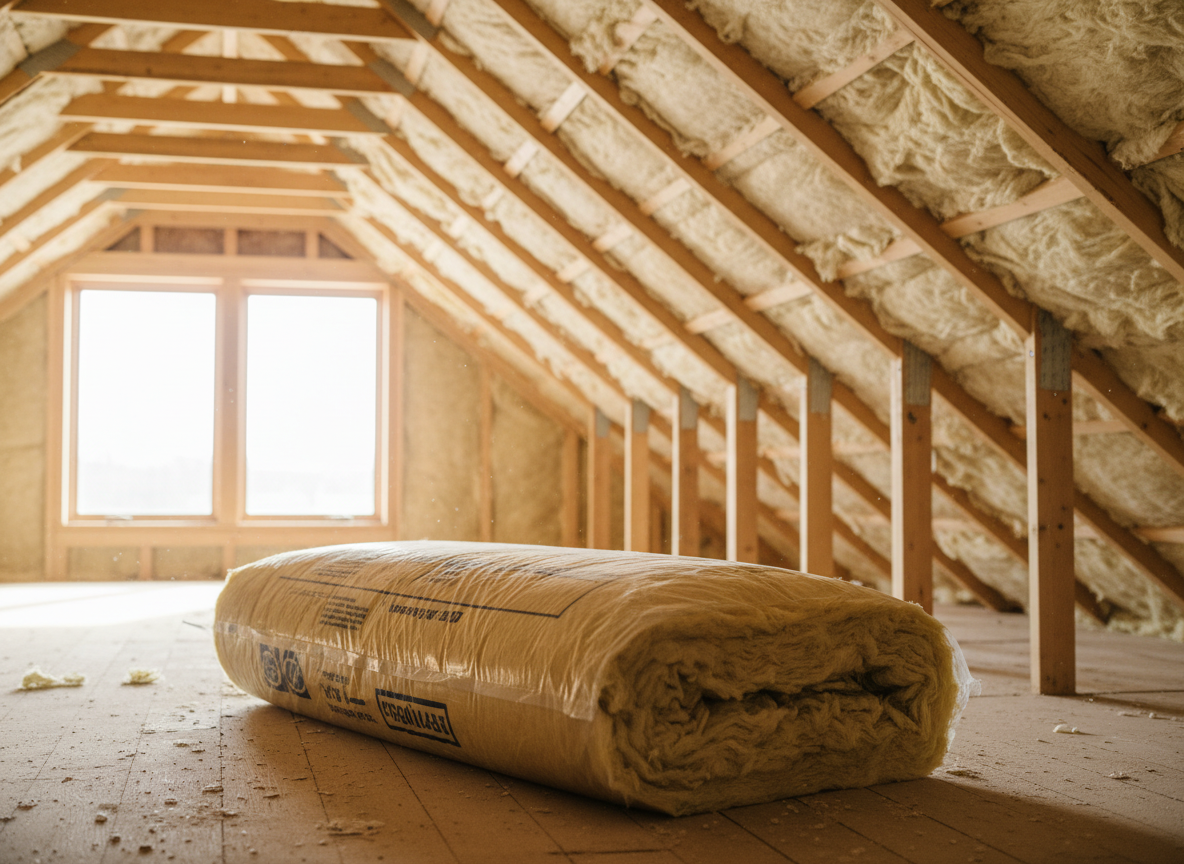
If you want to insulate your home but don’t know where to start, the answer for most houses is: seal air leaks first, then insulate the attic, then tackle the basement or crawl space, and leave walls for last. That order gives you the biggest drop in heating and cooling costs for the least money. According to ENERGY STAR, homeowners can save an average of 15% on heating and cooling costs by air sealing and adding insulation in attics, floors over crawl spaces and basements.
Quick answer: the priority order
| Priority | Project | Typical cost | DIY friendly? | Why it’s here |
|---|---|---|---|---|
| 1 | Home energy audit | $0-$500 (often free or discounted via utility) | No | Shows where your leaks and gaps really are |
| 2 | Air sealing (attic, rim joists, penetrations) | $50-$300 DIY; $500-$2,500 pro | Yes, partly | Cheapest fix; insulation works poorly without it |
| 3 | Attic insulation | $1,500-$4,000 pro for a typical attic | Sometimes | Heat rises; most homes lose the most here |
| 4 | Basement rim joists / crawl space | $500-$3,000 | Sometimes | Big air leaks hide at the foundation |
| 5 | Ducts in unconditioned spaces | $300-$2,000 | Partly | Leaky ducts waste heated/cooled air |
| 6 | Exterior walls | $2,000-$6,000+ | No | Expensive and disruptive; best during a remodel |
Costs are rough national ranges and vary widely by region, home size and access.
Step 1: Find out where you’re losing energy
Before spending money, figure out where the problems are. You have three options:
- Professional energy audit. An auditor uses a blower door (a big fan that depressurizes the house) and often an infrared camera to find leaks. Many utilities offer free or low-cost audits; check your utility’s website.
- DIY walk-through. On a cold or windy day, hold a stick of incense near outlets, window trim, attic hatches and baseboards. If the smoke wavers, air is moving.
- Look at your bills. If your winter or summer bills are much higher than your spring and fall bills, heating and cooling is the main cost to attack. Our guide on how to read your electric bill shows how to compare usage month to month.
Step 2: Air sealing comes before insulation
This is the step most people skip, and it’s a mistake. Most insulation (especially fiberglass) slows heat moving through it, but it does not stop air. Warm air leaking into your attic through gaps carries heat right through the insulation.
Where to seal first
Focus on the attic floor and the basement, because that’s where the “stack effect” pushes and pulls the most air:
- Attic hatch or pull-down stairs: add weatherstripping and a foam cover box.
- Plumbing and wiring holes through the attic floor and top plates of walls: seal with fire-rated caulk or foam.
- Around the chimney and flues: use metal flashing and high-temperature sealant, never regular foam.
- Recessed “can” lights: use airtight-rated (IC-AT) fixtures or approved covers.
- Basement rim joists: where the house frame sits on the foundation, seal gaps with caulk or spray foam.
- Inside the living space: foam gaskets behind outlet covers on exterior walls, and weatherstripping on doors.
Key takeaway: A $30 can of foam and a $10 tube of caulk can fix leaks that no amount of new insulation would solve.
Safety note: If you have gas appliances, tightening your home can affect how they vent. Have a professional do a combustion safety test after significant air sealing, and make sure you have working carbon monoxide alarms.
Step 3: Insulate the attic
For most houses the attic is the single best insulation upgrade. It’s usually easy to reach, and blown-in insulation goes in quickly.
How much do you need?
Insulation is rated by R-value: higher means more resistance to heat flow. ENERGY STAR’s general guidance for attics is roughly:
- Warmer southern climates: about R-30 to R-49
- Colder northern climates: about R-49 to R-60
A quick way to check: measure the depth of your existing insulation. Loose fiberglass or cellulose delivers roughly R-2.5 to R-3.7 per inch. If you have less than about 10-12 inches, or you can easily see the tops of your ceiling joists, you likely need more.
The savings math
Say your household spends about $1,400 a year on heating and cooling. Using ENERGY STAR’s 15% average:
$1,400 × 0.15 = about $210 per year
If a professional air seal plus attic top-up costs $2,500:
$2,500 ÷ $210 = about 12 years to pay back
Do the air sealing yourself for $200 and the attic for $1,800, and payback drops to roughly 9-10 years. In a leaky older home with an under-insulated attic, savings can be larger; in a newer, tight home, smaller. Savings vary by climate, home and rates. Comfort also improves right away: fewer drafts and more even temperatures between rooms.
DIY or hire out?
- DIY blown-in: Many home improvement stores lend a blowing machine with a bulk insulation purchase. It’s a messy two-person job but doable. Wear a respirator, goggles and long sleeves.
- Hire a pro: Better if your attic is cramped, has old vermiculite (which may contain asbestos and should be tested before disturbing), has knob-and-tube wiring, or has moisture problems.
- Keep soffit vents clear: install baffles so insulation doesn’t block attic ventilation.
Step 4: Basement, crawl space and rim joists
Once the attic is done, look down. Cold air entering at the bottom of the house replaces warm air leaving at the top.
- Rim joists: Rigid foam boards cut to fit and sealed at the edges, or spray foam, work well.
- Unvented crawl spaces: Often best handled by sealing and insulating the crawl space walls rather than the floor above, but local codes and moisture conditions matter. Get professional advice.
- Floors over unheated garages: Insulating these can make the rooms above noticeably warmer.
Step 5: Ducts
If your furnace or air conditioner ducts run through an attic, garage or crawl space, leaks there waste energy you’ve already paid for. Seal joints with mastic or foil tape (not cloth “duct tape”), then insulate the ducts. This pairs well with an upgraded system; see our heat pump vs furnace cost comparison if you’re considering replacing equipment.
Step 6: Walls, last but not least
Walls matter, but they’re the hardest to upgrade in an existing home:
- Blown-in (drill-and-fill): Installers drill small holes, blow in cellulose or fiberglass, then patch. Best for older homes with empty wall cavities.
- During a remodel or re-siding: This is the ideal time to add insulation or continuous exterior foam board.
- Check first: Remove an outlet cover on an exterior wall (power off) and look in the gap. If there’s insulation already, walls are probably not your priority.
What about tax credits?
The federal Energy Efficient Home Improvement Credit (Section 25C), which covered 30% of insulation and air sealing materials, ended for property placed in service after December 31, 2025 under the 2025 federal budget law. Work completed in 2026 does not qualify. Your options now:
- Utility rebates: Many utilities still offer insulation and air sealing rebates or free audits.
- State programs: Some states run home efficiency rebate programs, often income-based. Check your state energy office.
- Weatherization assistance: Income-qualified households may get free upgrades through the U.S. Department of Energy’s Weatherization Assistance Program, administered locally.
Frequently Asked Questions
Should I air seal or insulate first?
Air seal first. Once insulation is blown into an attic, the gaps underneath are buried and much harder to reach. Sealing first also makes the insulation work better.
How do I know if my attic needs more insulation?
Measure it. If it’s under about 10-12 inches of loose-fill, or the joists are visible, adding more is usually worthwhile. Uneven coverage and compressed areas also count as gaps.
Is spray foam better than fiberglass or cellulose?
Spray foam insulates and air seals at the same time, but it costs much more. For an open attic floor, air sealing plus blown cellulose or fiberglass is usually the best value.
Can too much air sealing make my house unhealthy?
A very tight home needs mechanical ventilation, such as bathroom and kitchen exhaust fans used regularly. Most older homes are nowhere near that tight, but a pro audit can tell you.
What temperature should my house be to test for drafts?
Tests work best with a big indoor-outdoor difference, for example below 40°F (4°C) outside, or on a hot summer day with the AC running.
The bottom line
Start small and in the right order: get an audit, seal the obvious air leaks, then bring your attic up to recommended R-values. Those three steps deliver most of the savings for most homes. Leave walls for a remodel. For more ways to trim your bills while you plan bigger projects, see our guide on how to save on heating this winter.
Figures in this guide are estimates based on typical US prices at the time of writing. Savings vary by home, climate and utility rates — check your own bill before making a purchase.
